This is a tutorial on how to make a GIF using GIMP.
What is a GIF
A GIF is basically an image type that allows for animation. To get animation you have to have several frames. To begin with, all the frames are invisible. As time passes, at preset intervals the frames come into visibility one after another, making the image look as if it is changing / moving.
Making a GIF Using GIMP
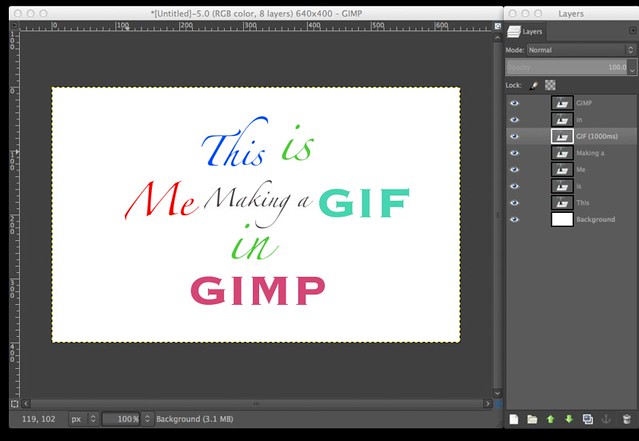
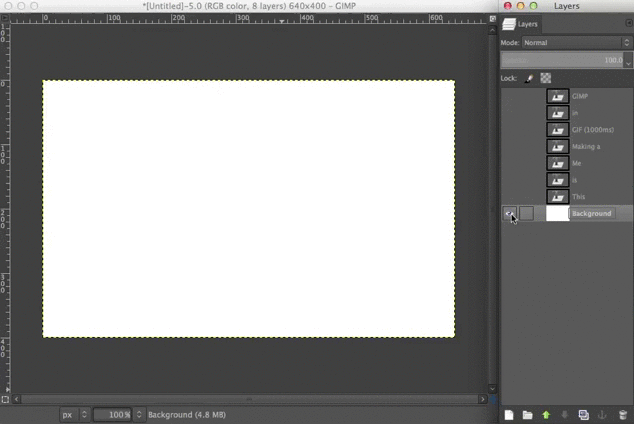
The layers you have in GIMP will each be its own frame. The ordering of the frames will be from the lowest layer to the highest layer. Let’s make a GIF like the following:

Steps Overview
- Make your layers in the order of animation that you want them.
- Testing your animation
- Press on
File->Export - Give a name to your image with a
.giffile extension, then click export. - Checkmark
As animationand choose your options. Click on export.
Step 1: Making / Ordering Layers and Setting Delays
Each layer is a frame. The bottom most layer will be the first frame. As time intervals pass the frame above will come into visibility. You can set the amount of delay between the frames by specifying the number of milliseconds to wait on each frame as a comment in the layer name. For example, calling a layer, layer 5 (1000ms) will make that frame show up for 1 second before moving to the next one. If you do not specify the delay in the name then there will be a constant delay decided when you export the gif in a later step.
To make the final file as small (as in taking up disk space) as possible try to make each frame only show what is changing in the frame, and keep its background transparent.
You can get very creative here and make some very cool animations. I will just settle for some text here to make things as simple as possible. I just want each word to appear after each other.
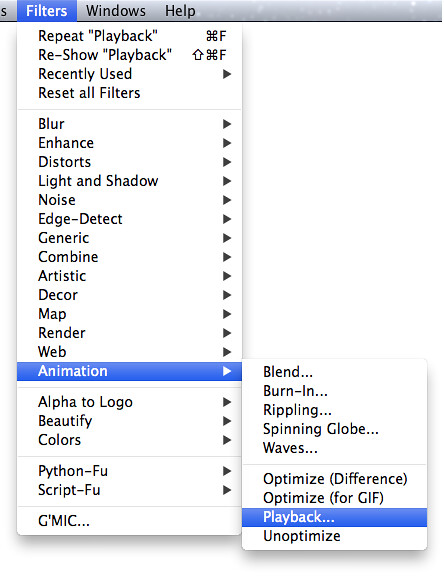
Step 2: Testing the Animation
Before exporting, it is good to make sure that your animation is what you want it to look like. There are two ways to test the animation:
- Manually toggling the visibility of all layers in sequence
- Pressing on
Filters->Animation->Playback
Manually Toggling Visibility of Layers in Sequence
This method gives you fine control over the animation, as you get to see the small change very clearly and as slow as you like. It’s ideal for testing the animation when you are still working on the frames individually.
Check this tutorial on how to hide all layers except one.
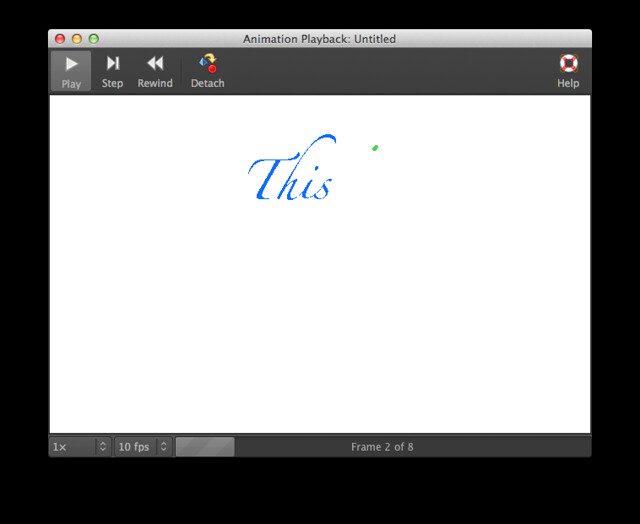
Pressing on Filters -> Animation -> Playback
This is good when you want to test long animations and the manual way just gets too tedious. It’s also good when you want to test the timing of the frames if you have different delays for different frames. It gives you many options, such as stepping through each frame, as well as playing it at different speeds.
Step 3: Press on File -> Export
Once you are satisfied with your animation, it is time to export it to a GIF.
Step 4: Add a .gif Extension and Press Export
For example call it WhateverYouWant.gif.
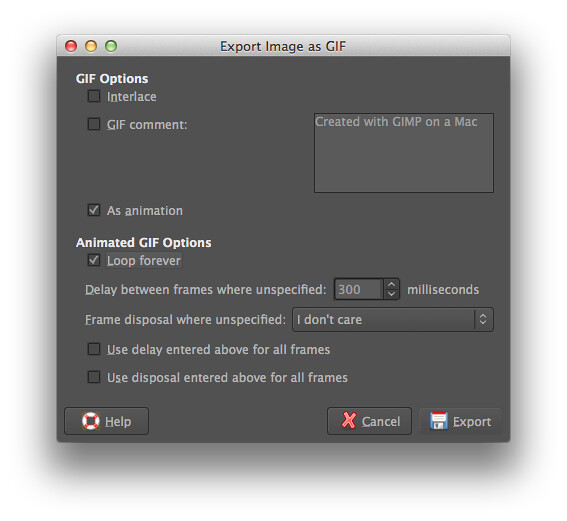
Step 5: Checkmark As animation, Choose Options, Press Export
A GIF does not have to be animated. If you want it to be animated (in this case we want it to be animated) then check As animation. Choose the options you want. The most important is the delay between frames where unspecified, because that will decide how fast the animation goes for those frames where you did not specify a delay.
When you are happy press export, and enjoy your final product.